
How to Organize Small Spaces: A Practical Field Guide

Learning how to organize small spaces starts with one decision: stop treating every open surface as storage. A narrow office, utility room, apartment closet, or maintenance area becomes difficult when items have no assigned location. The fix is not always a larger cabinet or a costly remodel. It is a clear inventory, a sensible layout, and storage that matches how the room is actually used.
I have seen the same failure pattern in commercial buildings and homes: people buy containers before measuring the space, then create a tighter version of the original mess. A better process begins with evidence. What comes in, what goes out, what must remain accessible, and what can be stored higher or farther away? Answer those questions first, and the room starts working for you.
Start with a useful inventory
Before moving anything, remove every item that does not belong in the space. In a small office, that might include outdated files, empty shipping boxes, spare furniture, and equipment nobody has used in a year. In a maintenance closet, it could be duplicate tools, dried sealant, damaged extension cords, or old filters that no longer fit the building’s equipment.
Make three groups: daily use, occasional use, and remove or relocate. Daily-use items should sit between waist and shoulder height. Occasional supplies can go on upper shelves, while heavy objects should remain low. Anything that is hazardous, leaking, damaged, or expired should not return to the storage area.
Use a simple count rather than guessing. If a small facility needs twelve replacement air filters each quarter, store one working supply and schedule the next purchase instead of filling the room with a year of inventory. The same principle applies to paper, cleaning products, tools, and spare parts. Storage should support operations, not hide overbuying.
Build zones instead of filling corners
The most reliable answer to how to organize small spaces is to divide the room by task. A compact room may need only three zones: work, active storage, and reserve storage. A home entryway might use zones for shoes, coats, keys, and outgoing packages. A property maintenance room could have one section for hand tools, one for consumables, and one for inspection equipment.
Zone boundaries do not require walls. A different shelf, labeled bin, strip of floor tape, or pegboard can create enough separation. Keep the path to the door, electrical panel, shutoff, and fire equipment clear. In commercial spaces, access is more important than squeezing in one additional box. A crowded aisle slows inspections and can turn a routine repair into a safety problem.
Measure before buying anything. Record wall width, ceiling height, door swing, baseboard depth, and the clearance needed to open cabinets. A shelf that technically fits may still fail if it blocks a panel or forces people to turn sideways. Leave room for hands to lift bins and for labels to remain visible from the aisle.
Use vertical and overlooked storage
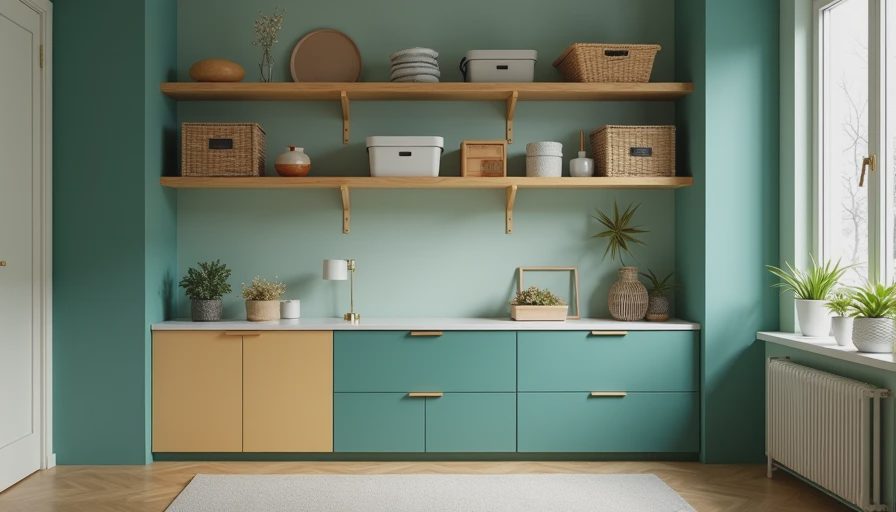
Small rooms often have unused vertical capacity. Wall-mounted shelves, pegboards, narrow utility carts, and tall cabinets can move supplies off the floor without expanding the footprint. Clear bins work well for small parts, but opaque containers are better for light-sensitive products or items that must stay clean. Choose one bin size whenever possible so shelves remain easy to rearrange.
The back of a door can hold flat tools, cleaning cloths, measuring tapes, or office supplies. The side of a cabinet can hold a magnetic strip or a narrow rack. Under-shelf baskets add a second level without requiring new furniture. These small changes matter because they use space that is usually ignored.
Do not place heavy equipment overhead simply because the ceiling is available. A falling box, strained shoulder, or unstable ladder creates a bigger problem than the clutter you were trying to solve. Store lightweight, low-risk items above eye level and keep frequently handled supplies within comfortable reach.
Label for the next person
An organized room should make sense to someone who did not arrange it. Use labels that name the contents and, when useful, state the quantity or location. “3/4-inch PVC fittings” is more useful than “plumbing.” “Quarterly filters, 20 by 25” is better than “HVAC supplies.” In an office, labels such as “current contracts,” “tax records,” and “archive” reduce searching without requiring a detailed explanation.
Color can help, but it should not carry the entire system. A red label might identify emergency supplies, while blue identifies routine stock. Add words and item codes so the system still works under poor lighting or for someone who does not know the color convention.
Place a small inventory card on the inside of a cabinet or near the supply shelf. It can show the normal quantity, reorder point, and vendor part number. This takes minutes and prevents a common waste pattern: buying an item that was already hidden behind three unrelated boxes.
Create a maintenance routine
Knowing how to organize small spaces is useful only if the arrangement survives normal use. Set a five-minute reset at the end of each workday or shift. Return tools, flatten boxes, discard packaging, and put incoming supplies in a temporary receiving area before they reach the main shelves. A short reset is easier to maintain than a dramatic cleanup every few months.
Schedule a deeper review once a quarter. Check for expired products, damaged containers, duplicate purchases, and items that have migrated into the wrong zone. In a commercial property, photograph the storage layout after the initial setup. The photo becomes a quick reference for new employees, vendors, and night crews.
If several people use the room, assign ownership even if one person is not responsible for every task. Someone should be accountable for reordering, another person can verify safety access, and users should report missing or damaged items. An unowned closet becomes cluttered because every person assumes someone else will fix it.
A practical example and final checklist
Consider a 6-by-8-foot utility room with a water heater, electrical panel, mop sink, and one open wall. The wrong approach is to add a large cabinet across the only walkway. The better approach is a 12-inch-deep wall shelf for lightweight supplies, a narrow rolling cart for daily tools, labeled bins below the shelf, and a marked clear zone around the panel and heater. Bulk stock can move to a separate reserve area.
Before finishing, walk through this checklist:
- Remove items that do not belong.
- Group remaining items by frequency and task.
- Measure walls, doors, equipment, and required access.
- Store heavy items low and light items high.
- Label every shelf, bin, or file group.
- Keep safety equipment and service panels unobstructed.
- Set a short daily reset and a quarterly review.
The best answer to how to organize small spaces is rarely more furniture. It is a layout that respects movement, access, safety, and real usage. Start with one room, document the before-and-after condition, and adjust after a week of normal activity. The system should make the next task faster, not create another task to manage.
Keep Reading

Upholstery Cleaner: A Practical Guide for Commercial Facilities
Upholstery cleaner guidance for commercial facilities: compare formulas, protect...

Where to Buy Furniture: A Practical Guide for Commercial Property Buyers
Where to buy furniture for a commercial office, waiting room, or break area: com...

Palm Tree Types: A Practical Guide for Property Owners
Palm tree types explained for property owners: learn how species, roots, fronds,...
Owner Letters
0 lettersNo letters yet — be the first to write one.