
What a Good Commercial Roof Inspection Report Should Actually Tell You
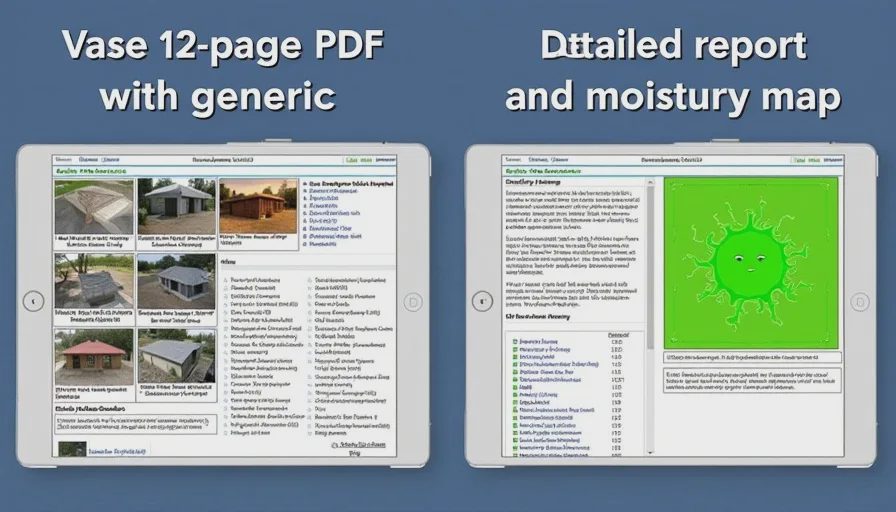
You've called in a roofing contractor or an independent consultant to inspect your commercial flat roof. They walk the roof for 45 minutes, take some photos, and a few days later you receive a 12‑page PDF.
You open it. There are glossy pictures, a few checkmarks, and a summary that says: “The roof shows signs of normal aging. Recommend repairs as needed. Call us for a quote.”
That's not a report. That's a business card with extra pages.
A real inspection report should arm you with enough specific, verifiable information to make a confident decision – not just about whether to repair or replace, but about what to repair, where the risks are, and how urgent each issue is.
Here's what a good commercial roof inspection report must contain – and how to spot the reports that are just theater.
The 8 Non‑Negotiable Sections of a Professional Report
1. Header: Basic Building and Roof Identification
This sounds obvious, but you'd be surprised how many reports skip it or get it wrong.
What it should include:
Building address, occupancy type, and year built
Roof area (in square feet) – measured, not estimated from blueprints
Roof system type (e.g., TPO, EPDM, modified bitumen) and manufacturer (if known)
Approximate age of the current roof system (from records or visual clues)
Date and time of inspection, weather conditions during inspection, and inspector's name and credentials
Why it matters: Without this baseline, you can't compare reports from different contractors. And if the inspector doesn't even know what membrane you have, they're probably not looking closely enough.
2. Executive Summary – But with Actual Grading
Not a vague “okay” or “needs work.” A good report gives you a graded assessment for the roof as a whole and for each major component.
What it should include:
An overall condition rating: e.g., Good / Fair / Poor / Critical
A separate urgency rating for each observed defect: Immediate / Within 6 Months / Within 1‑2 Years / Monitor
A one‑paragraph bottom‑line judgment: “Based on this inspection, the roof has approximately 5–7 years of remaining service life if the following 3 repairs are completed. Without them, life reduces to 2–3 years.”
Red flag: A summary that says nothing more than “various areas of distress noted” without quantifying severity or timeline.
3. Membrane Condition – Detailed, Not Generic
This is the heart of the report. It should describe the membrane's current state with enough specificity that you could walk the roof and match the description to what you see.
What it should include (for each roof zone or section):
Surface condition: Cracking, alligatoring, blistering, granular loss (for mod‑bit), chalking
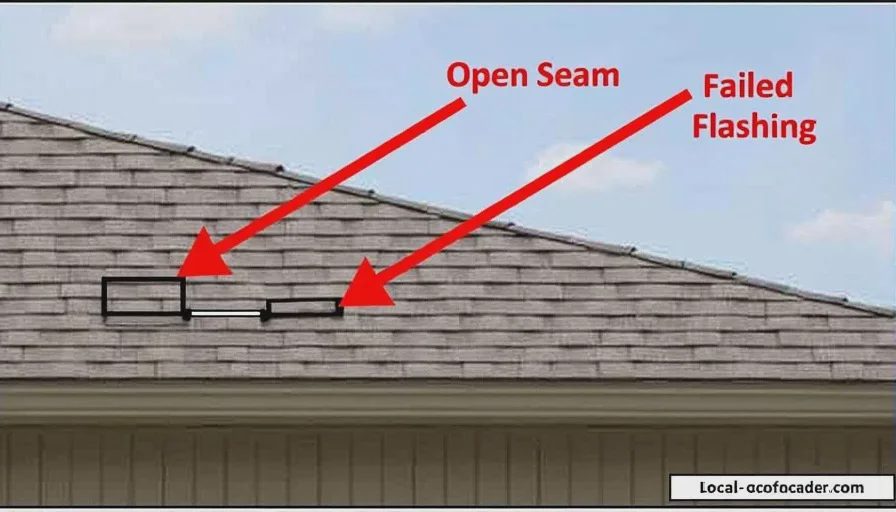
Seam integrity: Number of open seams, seam laps that are lifting, heat‑welded vs. adhesive seams, and whether failures are isolated or widespread
Penetration details: Condition of flashing around pipes, vents, HVAC curbs, skylights, and drain bowls – with specific notes on each
Edge metal / parapet walls: Condition of coping caps, gravel stops, drip edges – rust, loosening, separation from membrane
Ponding water: Locations, depth (if measured), duration after rain, and whether it has caused visible membrane degradation
Example of a useful description:
“Zone A (northeast quadrant, approx. 2,500 sq ft): Surface shows moderate alligatoring over 40% of area. Two open seams identified near the NE drain, each approximately 18 inches long. Flashings at the HVAC curb are intact but the sealant is cracked. No active moisture detected in underlying insulation (via thermal imaging).”
Red flag: Phrases like “membrane shows signs of weathering” with no location, no extent (percentage), and no specifics on what type of weathering.
4. Moisture Survey Results – Not Just “Looks Dry”
Water is the hidden enemy. A good inspection must go beyond visual – it must test for moisture in the insulation.
What it should include:
The method used: Infrared thermography, nuclear moisture gauge, capacitance meter, or core cuts (destructive sampling)
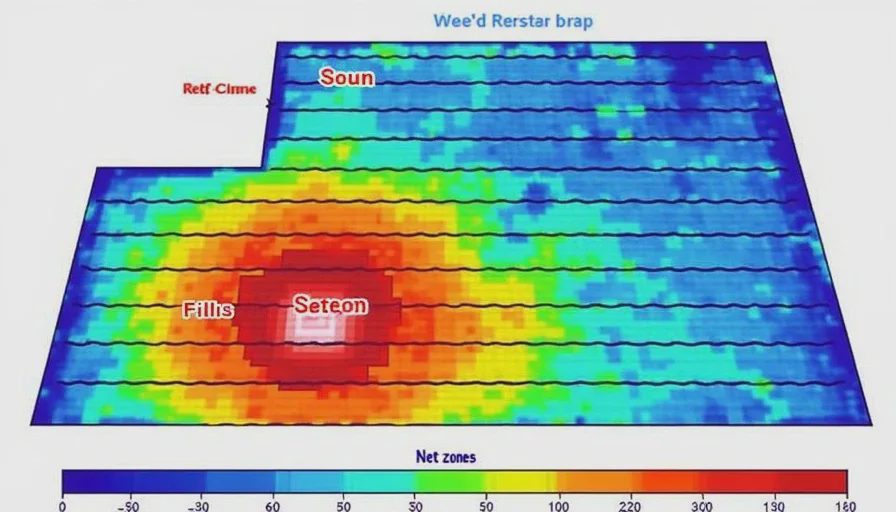
A moisture map – a roof plan drawing with wet zones highlighted and percentage of wet area calculated
For core cuts: photos of the cut, insulation condition (dry, damp, saturated), and deck condition (rust, rot)
Confidence level – e.g., “Infrared survey indicates wet insulation in approximately 15% of the total roof area, concentrated around three drain locations. Confirmed by 2 core samples.”
Red flag: No moisture testing at all, or a vague statement like “insulation appears dry” without specifying how that was determined. Visual alone is insufficient – wet insulation can look perfectly fine from the surface.
5. Drainage and Water Flow Assessment
Flat roofs aren't perfectly flat – they have slope. But if that slope is compromised (settlement, sagging, blocked drains), water sits and accelerates aging.
What it should include:
Drain locations and condition (strainers, bowls, internal vs. scuppers)
Observations of ponding water – depth, area, and whether it exceeds 48‑hour standing time (which usually violates warranty terms)
Condition of drain seals and flashing around drains
Suggestions for drainage correction if needed – tapered insulation, additional drains, or drain cleaning
Red flag: No mention of drainage at all – many reports skip this, but ponding is one of the top three killers of flat roofs.
6. Photographic Evidence – Annotated, Not Just Decoration
Photos should not be wallpaper. Each image must serve a purpose and be clearly tied to the text.
What it should include:
Labeled photos with location identifiers (e.g., “Photo 7 – Northeast corner, seam split adjacent to RTU‑2”)
Wide‑angle shots of entire roof sections (context)
Close‑ups of defects with a scale reference (ruler, coin, or tape measure)
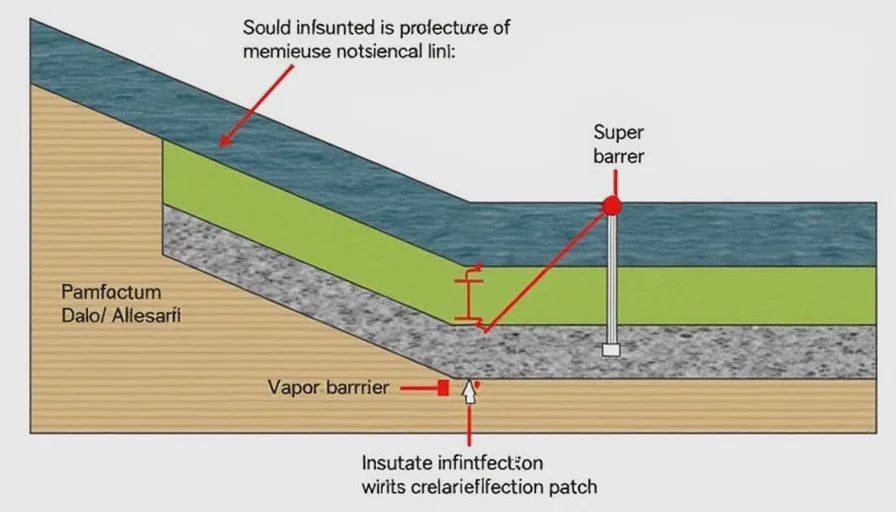
Before/after comparison if the report includes repair recommendations (e.g., a photo of a failed flashing alongside a stock photo of proper flashing)
Moisture scan overlay – infrared images showing thermal anomalies (wet areas) overlaid on the roof plan
Red flag: Generic photos without location labeling, or photos that are too zoomed‑in to show context – you can't tell where the problem is or how big it is.
7. Repair Recommendations – With Prioritization and Estimated Costs
This is where the report transitions from diagnosis to action plan. It should never be just a single line saying “we can fix it.”
What it should include:
A list of specific repairs, each tied to a location and defect description
Priority level for each repair (High / Medium / Low)
Rough cost estimate for each item (or a total repair budget) – even a ballpark helps you plan
Alternative strategies – e.g., “Option A: Repair all 6 seam failures ($3,000). Option B: Replace the entire zone around the drain with a new membrane section ($7,500). Option C: Full roof replacement ($60,000).”
Timeline for completion and any recommended phasing
Red flag: A single blanket recommendation (“replace the roof”) without describing why each other option was rejected, and without cost breakdowns for repairs.
8. Warranty and Maintenance Implications
A good report connects the current condition to your existing warranty (if any) and future maintenance obligations.
What it should include:
Whether the observed defects void or affect the original system warranty – and what documentation you need to preserve
A maintenance schedule going forward – e.g., “Conduct bi‑annual inspections (spring and fall). Clean drains quarterly. Re‑seal all penetrations every 2 years.”
Estimated remaining service life with recommended repairs vs. without them
Any recommendations for coating or recover to extend life, with a cost‑benefit estimate
Red flag: No mention of warranty preservation or future maintenance – a report that ends at “repair” without looking ahead is short‑sighted.
What a Good Report Looks Like in Practice – Sample Summary
Section | Finding |
|---|---|
Overall Rating | Fair (with repairs) → 6‑8 years remaining |
Immediate Critical Issues | 3 open seams near drains (must be fixed within 60 days to prevent substrate rot) |
Medium‑Priority Issues | Ponding in southwest corner – add tapered insulation at next re‑cover |
Moisture | 8% wet insulation – localized, can be cut out during seam repairs |
Estimated Repair Cost | $4,500 – $6,000 |
Replacement Horizon | 6‑8 years unless coating applied (adds 3‑5 years) |
Recommended Next Action | Proceed with seam repairs and core‑dry wet areas. Budget for full replacement in Year 7. |
How to Use This Report to Get Better Contractor Quotes
Once you have a solid report, you're no longer negotiating from a position of ignorance. You can:
Share the report with 3‑4 contractors – they all see the same baseline, so you can compare their scopes and prices apples‑to‑apples
Ask specific questions – “Why does your quote include replacing the entire north membrane when the report says only 2 seams need repair?”
Call out fluff – if a contractor gives you a vague proposal, push back and ask them to map each line item to the report's findings
The Catch: Not All Reports Are Created Equal
A report is only as good as the inspector who wrote it. Here's how to choose who does your inspection:
Inspection Source | Pros | Cons |
|---|---|---|
Independent roofing consultant (not affiliated with a contractor) | Most unbiased; no incentive to oversell repairs; often the most detailed reports | Higher upfront cost ($500 – $1,500 for a typical commercial roof) |
Your chosen contractor's in‑house inspector | Free or low‑cost; convenient; they know local codes and pricing | Inherent bias toward recommending their own scope; may downplay repair options to push replacement |
Manufacturer's field rep (if under warranty) | Free (under warranty); excellent technical knowledge of their membrane | Limited to warranty‑related defects; won't advise on non‑covered issues or alternatives |
My recommendation: For a major decision (repair vs replacement), invest in an independent consultant's report first. Then use that to get competitive bids from contractors. The consultant's fee often pays for itself in avoided over‑scoping.
Keep Reading

Upholstery Cleaner: A Practical Guide for Commercial Facilities
Upholstery cleaner guidance for commercial facilities: compare formulas, protect...

Where to Buy Furniture: A Practical Guide for Commercial Property Buyers
Where to buy furniture for a commercial office, waiting room, or break area: com...

Palm Tree Types: A Practical Guide for Property Owners
Palm tree types explained for property owners: learn how species, roots, fronds,...
Owner Letters
0 lettersNo letters yet — be the first to write one.