
Why Flat Roof Leaks Around HVAC Curbs and Penetrations Keep Returning
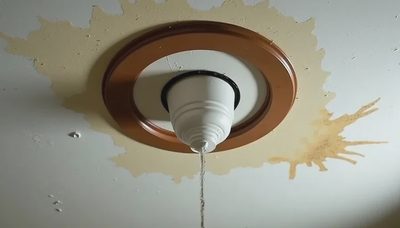
You've had the roof patched three times in two years. Each time, the contractor finds a crack in the flashing around your HVAC curb, seals it with caulk or tape, and bills you $800. Three months later, the ceiling stain is back – in the exact same spot.
You're not unlucky. You're experiencing a classic failure pattern that plays out on commercial roofs across the country.
The truth: HVAC curbs, pipe penetrations, skylights, and exhaust vents are the most leak‑prone areas on any flat roof. They account for more than 60% of all commercial roof leaks, despite covering less than 5% of the roof surface. And they leak repeatedly because the repair approach is almost always surface‑level, not root‑cause.
Here's why these penetrations keep failing – and how to break the cycle for good.
The Anatomy of a Penetration Leak
Before we dive into the specific failure modes, understand the basic physics:
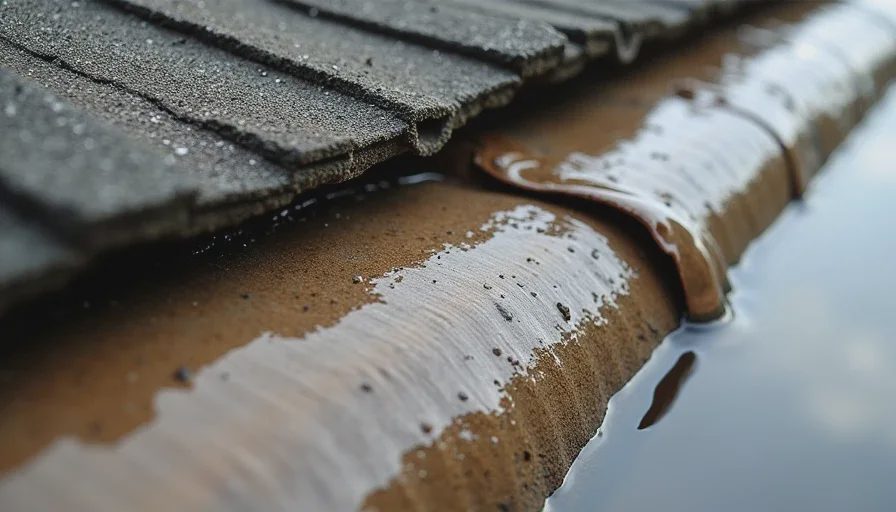
Water flows downhill. But on a flat roof, wind drives water sideways – and capillary action pulls it upward into small gaps.
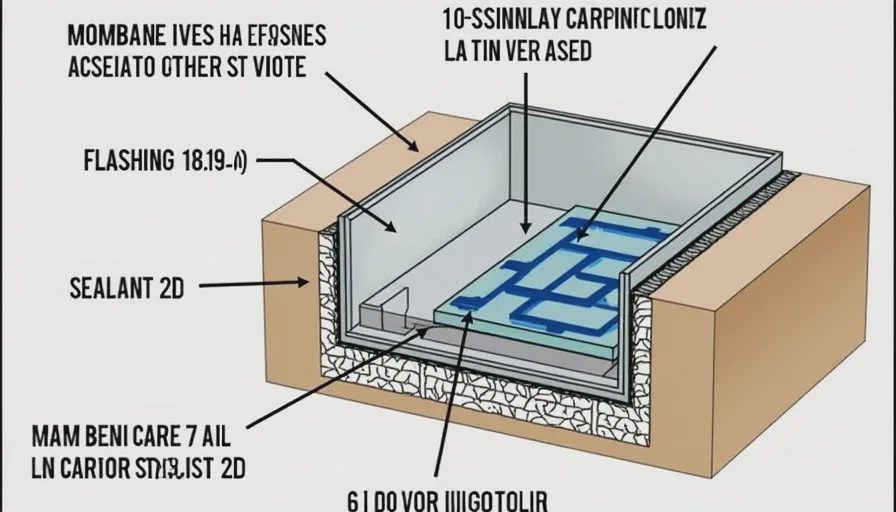
Around a penetration, you have multiple material interfaces: membrane, flashing metal, sealant, curb structure, and the equipment itself. Each interface is a potential water pathway. And each material expands and contracts at different rates with temperature changes – causing micro‑movements that open up seams and crack sealants over time.
Add foot traffic from HVAC maintenance workers, vibration from the equipment, and ponding water around the curb base – and you have a perfect storm for repeated failures.
5 Reasons Penetration Leaks Keep Coming Back
1. The Repair Is Only a Surface Patch – Not a Flashing Replacement
The symptom: The contractor applies a "peel‑and‑stick" patch or a thick layer of sealant (caulk, mastic, or butyl tape) over the cracked area. It looks fixed – but the underlying flashing is still old, brittle, and failing.
The root cause: The flashing itself has reached the end of its service life. It may have been installed 15+ years ago, and the metal has corroded, the membrane has shrunk, or the seam between the curb and the roof has separated. A patch on top of a failing base is like putting a new tire on a bent rim – it will fail again quickly.
Why it returns: The patch may stretch or crack with temperature cycling, or it may not fully adhere to the dirty or weathered surface underneath.
The permanent fix: The flashing must be completely replaced – the old metal and membrane removed, the curb inspected for rust or deterioration, and new flashing installed with proper overlap and termination bars.
2. The Curb Itself Is Rotting or Rusting
The symptom: The leak is in the same corner of the same curb every time. The sealant around that corner keeps cracking.
The root cause: The curb is usually wood (for older buildings) or metal. If it's wood and has been exposed to water through previous leaks, it may be rotting – so the flashing has no solid substrate to attach to. If it's metal, it may be rusting at the base, creating a rough, uneven surface that breaks sealant bonds.
Why it returns: Even with new flashing, if the curb surface is unsound, the flashing will not seal properly – and any movement will re‑open the gap.
The permanent fix: Inspect the curb structure. Replace any rotted wood or rusted metal. If the curb is beyond repair, replace it entirely – or install a new, prefabricated curb that sits over the existing one with proper drainage.
3. The Equipment Vibration Is Breaking the Seal
The symptom: Leaks that appear after major weather events but also after HVAC maintenance visits – especially if the leak timing correlates with equipment cycling.
The root cause: HVAC units vibrate – especially older compressors or units with unbalanced fans. That vibration is transmitted through the curb base to the roof membrane and flashing. Over time, it micro‑cracks sealants and loosens fasteners. A static patch won't hold up to dynamic movement.
Why it returns: The repair was designed for a static condition, but the curb is anything but static.
The permanent fix: Use vibration‑isolating details – such as flexible flashing membranes (not rigid metal) that can accommodate movement, or a "slip‑joint" design that allows the curb to move independently of the roof. Also, consider adding vibration pads under the equipment itself to reduce transmitted movement.
4. The Flashing Was Not Properly "Cricketed" – Water Ponds Against the Curb
The symptom: The leak only happens after heavy rain, not after light rain. And the stain appears on the side of the curb that faces uphill.
The root cause: The curb is at a low point on the roof – or water flow is blocked by the curb itself. Instead of diverting water around the curb, the roof slopes toward it, creating a permanent puddle against the base. That standing water finds its way through even tiny gaps.
Why it returns: The patch is applied, but the water still ponds – so the patch eventually degrades from constant moisture, algae growth, or freeze‑thaw cycles.
The permanent fix: Install a cricket – a sloped, tapered insulation saddle that diverts water around the curb so it flows to the drains. Crickets are standard practice for large penetrations but are often omitted to save cost. Insist on them for any curb that sits in a potential ponding zone.
5. Different Materials Are Not Properly Detailed – Thermal Expansion Tears the Seal
The symptom: The leak appears after extreme temperature swings – e.g., the first hot day after winter, or a sudden freeze. The sealant is cracked in a straight line along the metal‑membrane interface.
The root cause: Metal flashes, membrane, and sealants all have different coefficients of thermal expansion. Metal expands and contracts significantly with temperature; membrane moves less; sealant may become brittle in cold and soft in heat. If the detail doesn't allow for independent movement, the interface will tear.
Why it returns: Contractors apply a rigid sealant (like ordinary caulk) that cannot accommodate movement. It lasts one season and then cracks.
The permanent fix: Use high‑quality, low‑modulus sealants (like polyurethane or silicone) that are designed for expansion and contraction – and install them with proper backer rods and tooling to ensure they have space to stretch. Better yet, use a metal flashing with a "bellows" or "Z‑shaped" expansion detail that absorbs movement mechanically.
The Real Cost of Repeated Penetration Repairs
Let's run the numbers:
Each service call: $500 – $1,500 (truck roll, labor, materials)
Frequency: If you're patching the same curb 3 times in 2 years, that's $1,500 – $4,500 in sunk costs
Hidden costs: Ceiling repairs, downtime, tenant complaints, and potential HVAC damage from water intrusion
Opportunity cost: That money could have paid for a permanent, properly detailed flashing replacement – which would have cost $3,000 – $6,000 and solved the problem for 15+ years.
The math is clear: Repeated patches are the most expensive approach. A permanent repair is cheaper within 2–3 years.
How to Break the Cycle – A 5‑Step Protocol
Step 1: Stop Patching – Start Diagnosing
Don't authorize another "quick fix." Insist on a root‑cause investigation – not a surface sealant job. The contractor should:
Remove the old flashing and membrane around the curb to see what's underneath
Inspect the curb structure (wood or metal)
Check for ponding and slope around the curb
Photograph and document the condition
Step 2: Replace All Flashing – Not Just Patch
Full flashing replacement is the only permanent solution. This includes:
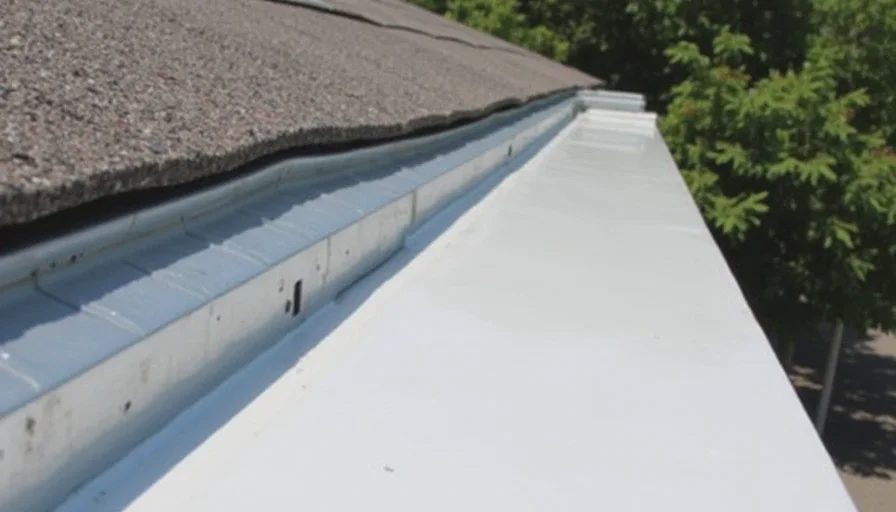
New membrane curbs flashing integrated with the roof membrane (heat‑welded or fully adhered)
New termination bars with proper fasteners
New counter‑flashings (metal) that overlap the membrane and are securely attached to the curb
Step 3: Address the Underlying Structure
If the curb is rotted or rusted, replace it. If it's sound, prepare the surface (prime, sand, or treat) so the new flashing adheres properly.
Step 4: Add a Cricket (if needed)
If water ponds against the curb, install a tapered insulation cricket that diverts water to the drains. This is a one‑time cost that prevents future ponding issues for the entire curb.
Step 5: Use Movement‑Tolerant Details
Specify low‑modulus sealants at all transitions and expansion joints. Use metal flashing designs that allow for movement, not rigid, fixed attachments.
When to Escalate to a Full Curb Replacement
In some cases, the curb itself is so old, corroded, or undersized that replacement is the best option. Consider this if:
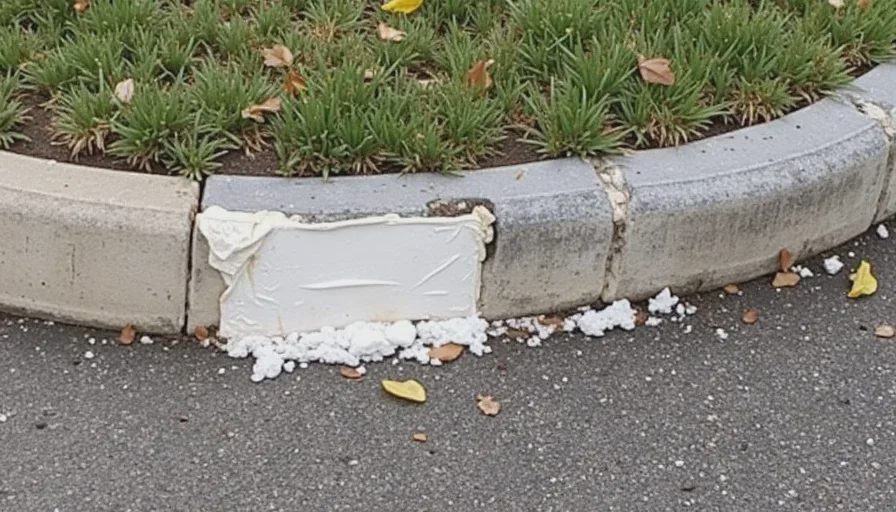
The curb is > 20 years old and showing visible rust or wood rot
The curb no longer fits the current equipment (many HVAC units have been replaced over time, leaving a mismatch)
The curb lacks proper insulation or was originally built with poor design (no taper, no kick‑out flashing)
You've had 5+ repairs in the last 3 years – the structure is fundamentally compromised
New curb cost: Typically $3,000 – $8,000 depending on size and access. That may seem expensive, but compared to 5–10 years of repeated patching, it often pays for itself.
How to Vet a Contractor for Penetration Work
Not all roofers are equally skilled at penetration detailing. Here's how to choose the right one:
Ask: "How many HVAC curb replacements have you done in the last year? Can we see photos of the finished details?"
Check: Do they use pre‑fabricated pipe boots and curb flashings (factory‑made, consistent quality) or field‑fabricate everything? Both are fine, but factory‑made details usually have better warranties.
Require: A written scope that specifically lists each penetration (with dimensions and materials) – not just "all curbs and penetrations flashed to code."
Insist on: A 5‑year labor warranty on flashing work – not just the membrane. If they won't stand behind their penetration details, they don't trust their own work.
Keep Reading

Drain Cleanout Problems on Commercial Flat Roofs: What Owners Should Know
Drain cleanout guidance for commercial flat roofs: learn what blockages mean, wh...
7 Signs a Commercial Flat Roof Leak Is Bigger Than the Ceiling Stain

Ponding Water After Rain: When to Monitor and When to Escalate
Owner Letters
0 lettersNo letters yet — be the first to write one.